
Hope you love your new Lighthouse Faceplate! We’ve prepared an easy-to-follow step-by-step installation guide for you down below. Should you run into any confusion or trouble while installing, please don’t hesitate to message our support team—we’re always ready to lend a hand.
Before Installation
Power off the headset and disconnect the DisplayPort (DP) cable before beginning the installation to ensure safety.
Step 1: Remove the facial foam and optical engine
Note: Inspect both sides of the headset for retaining screws. If present, remove the screws before removing the optical engine.
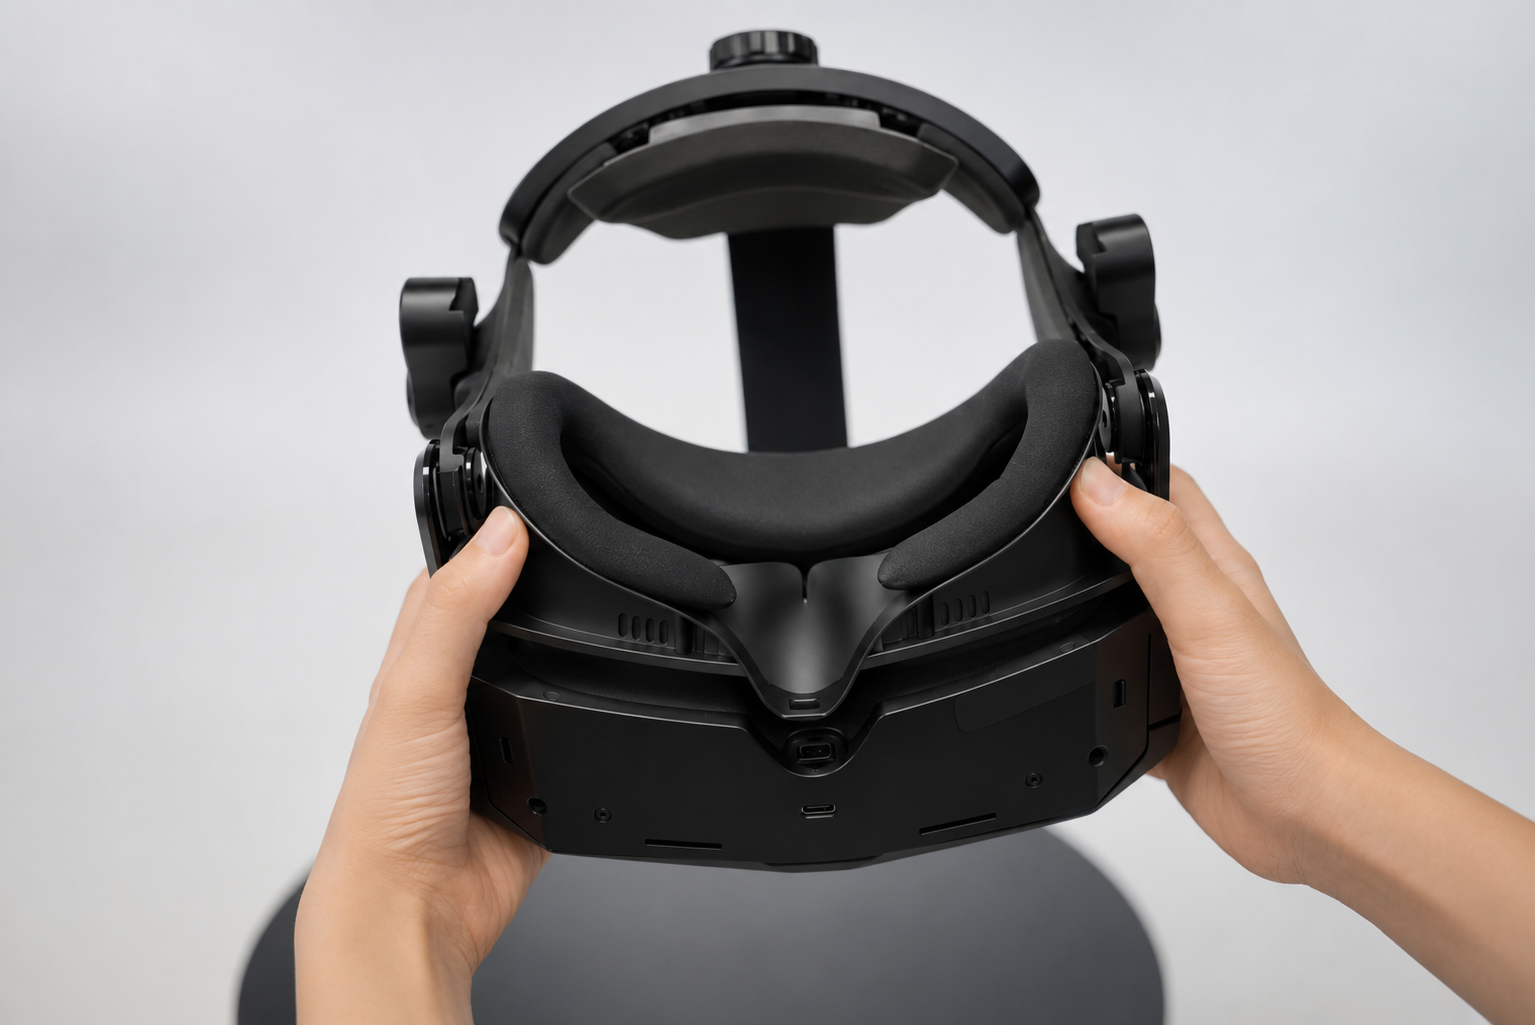
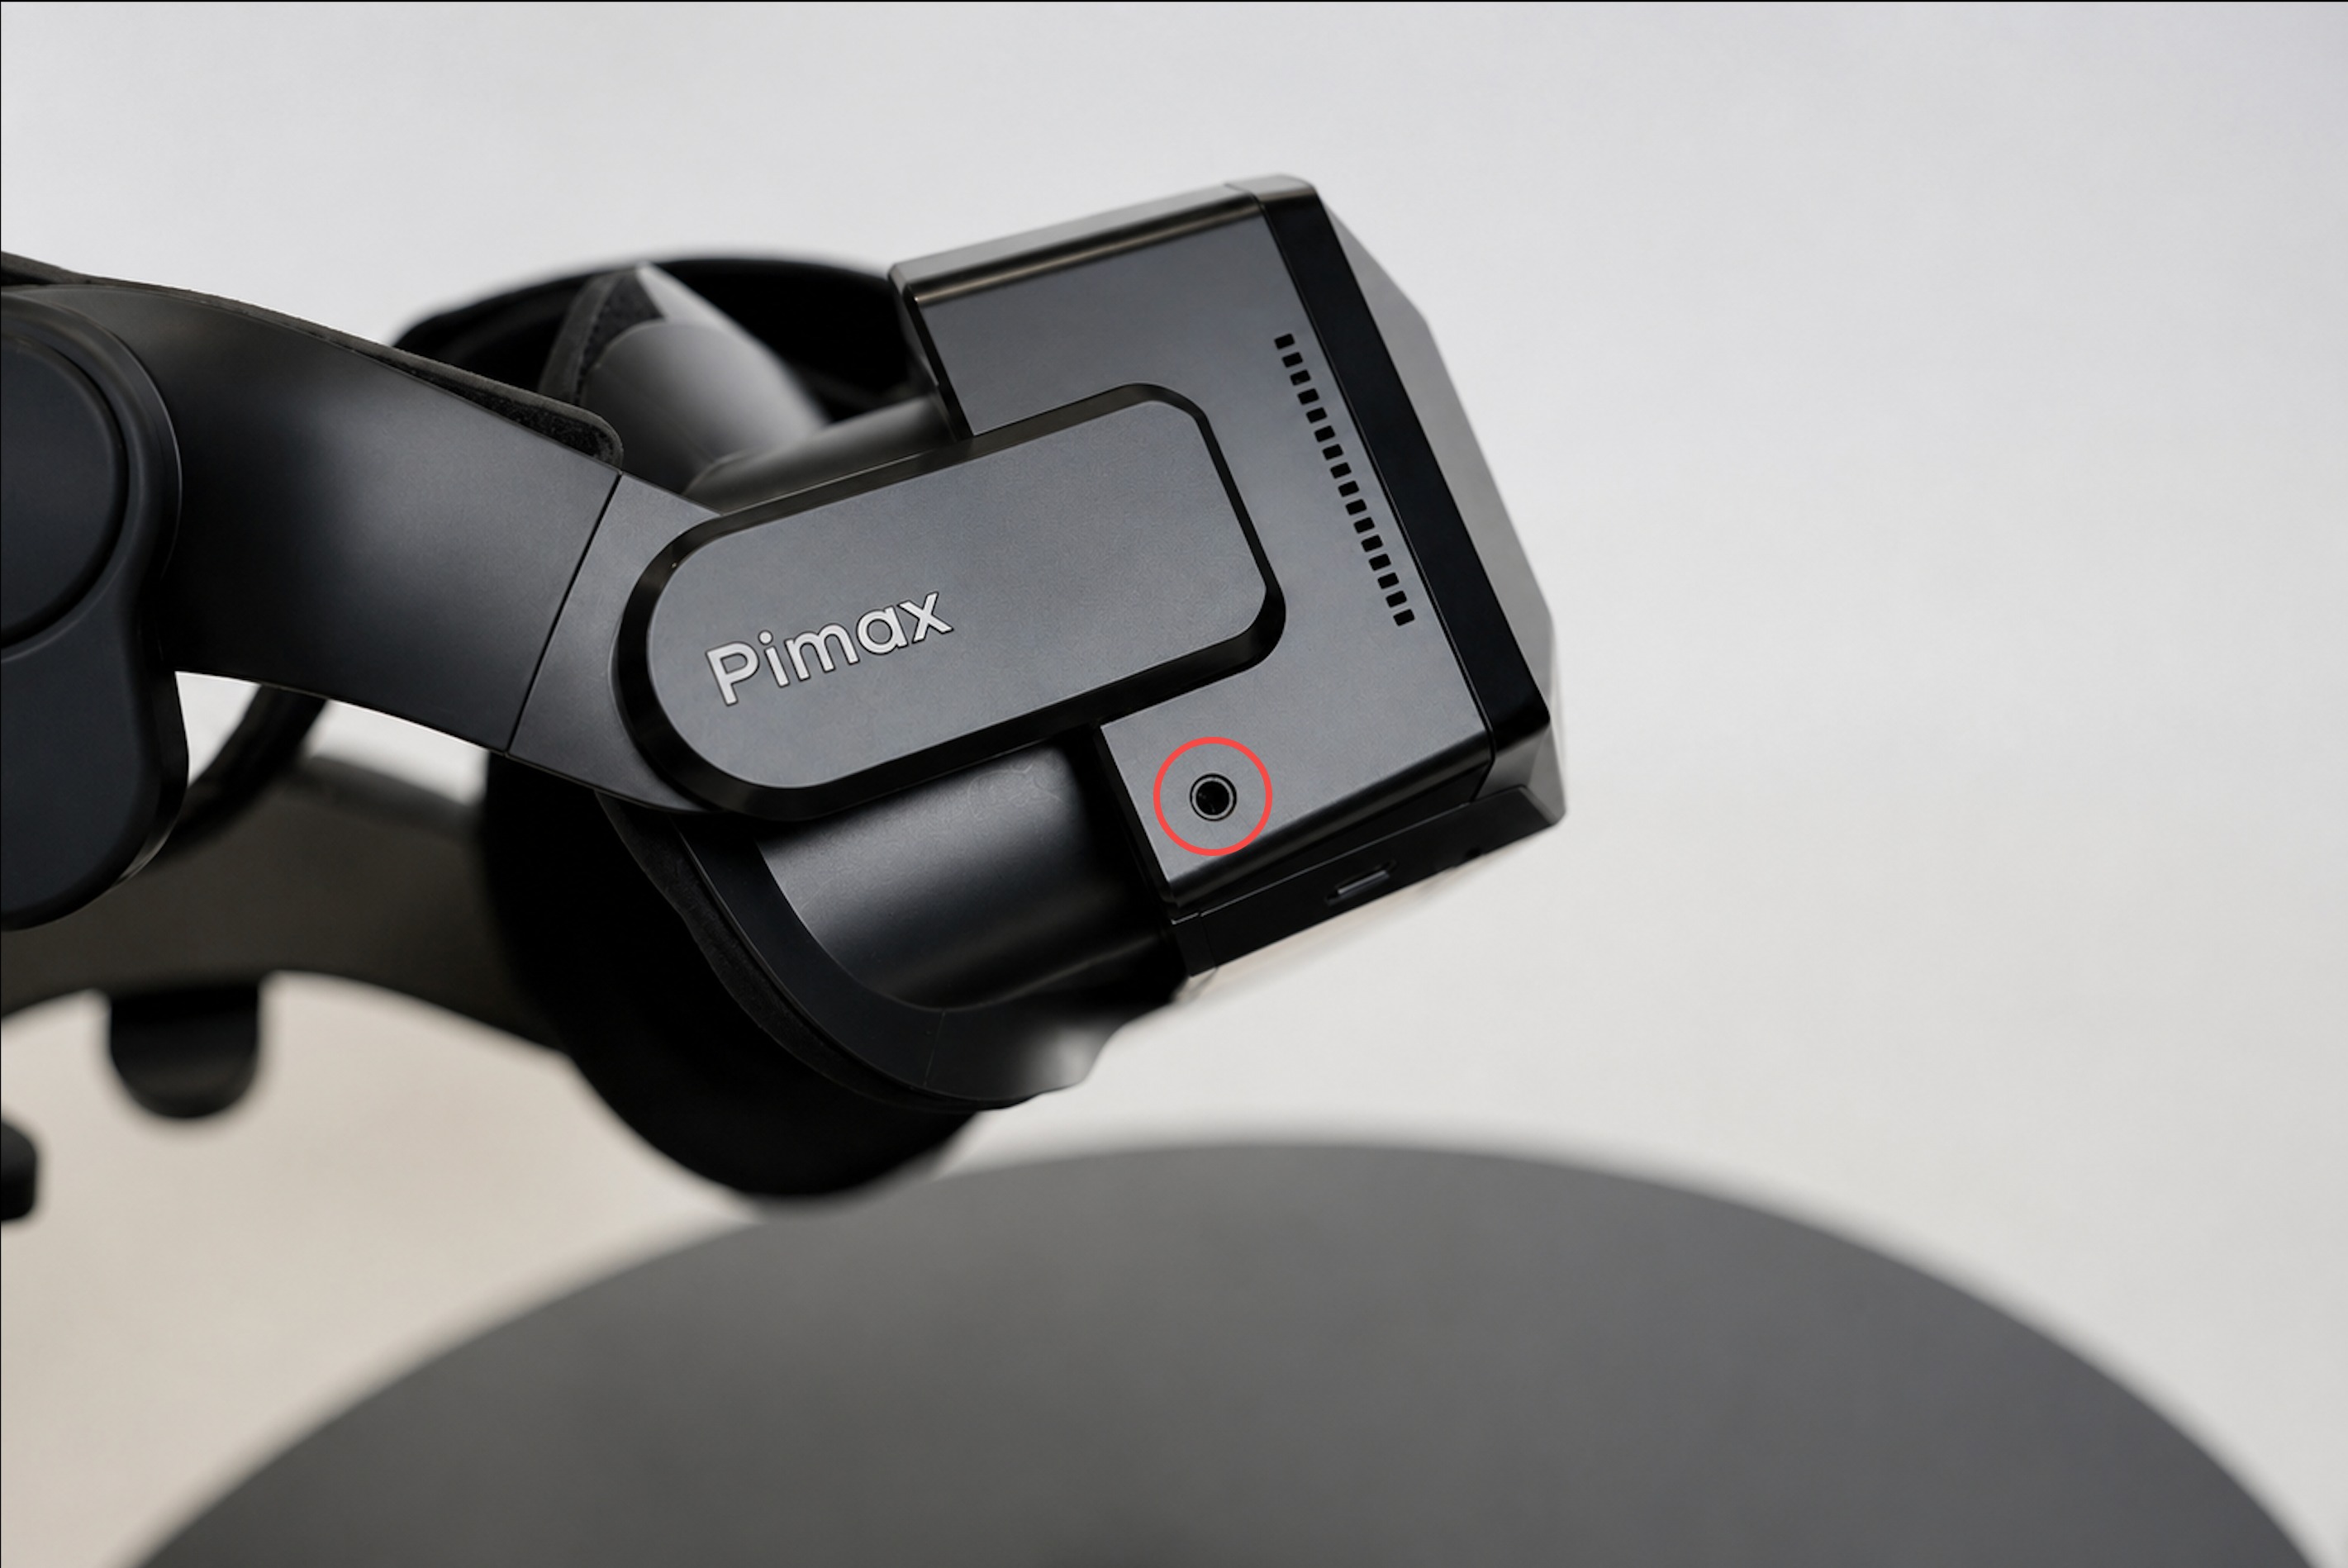
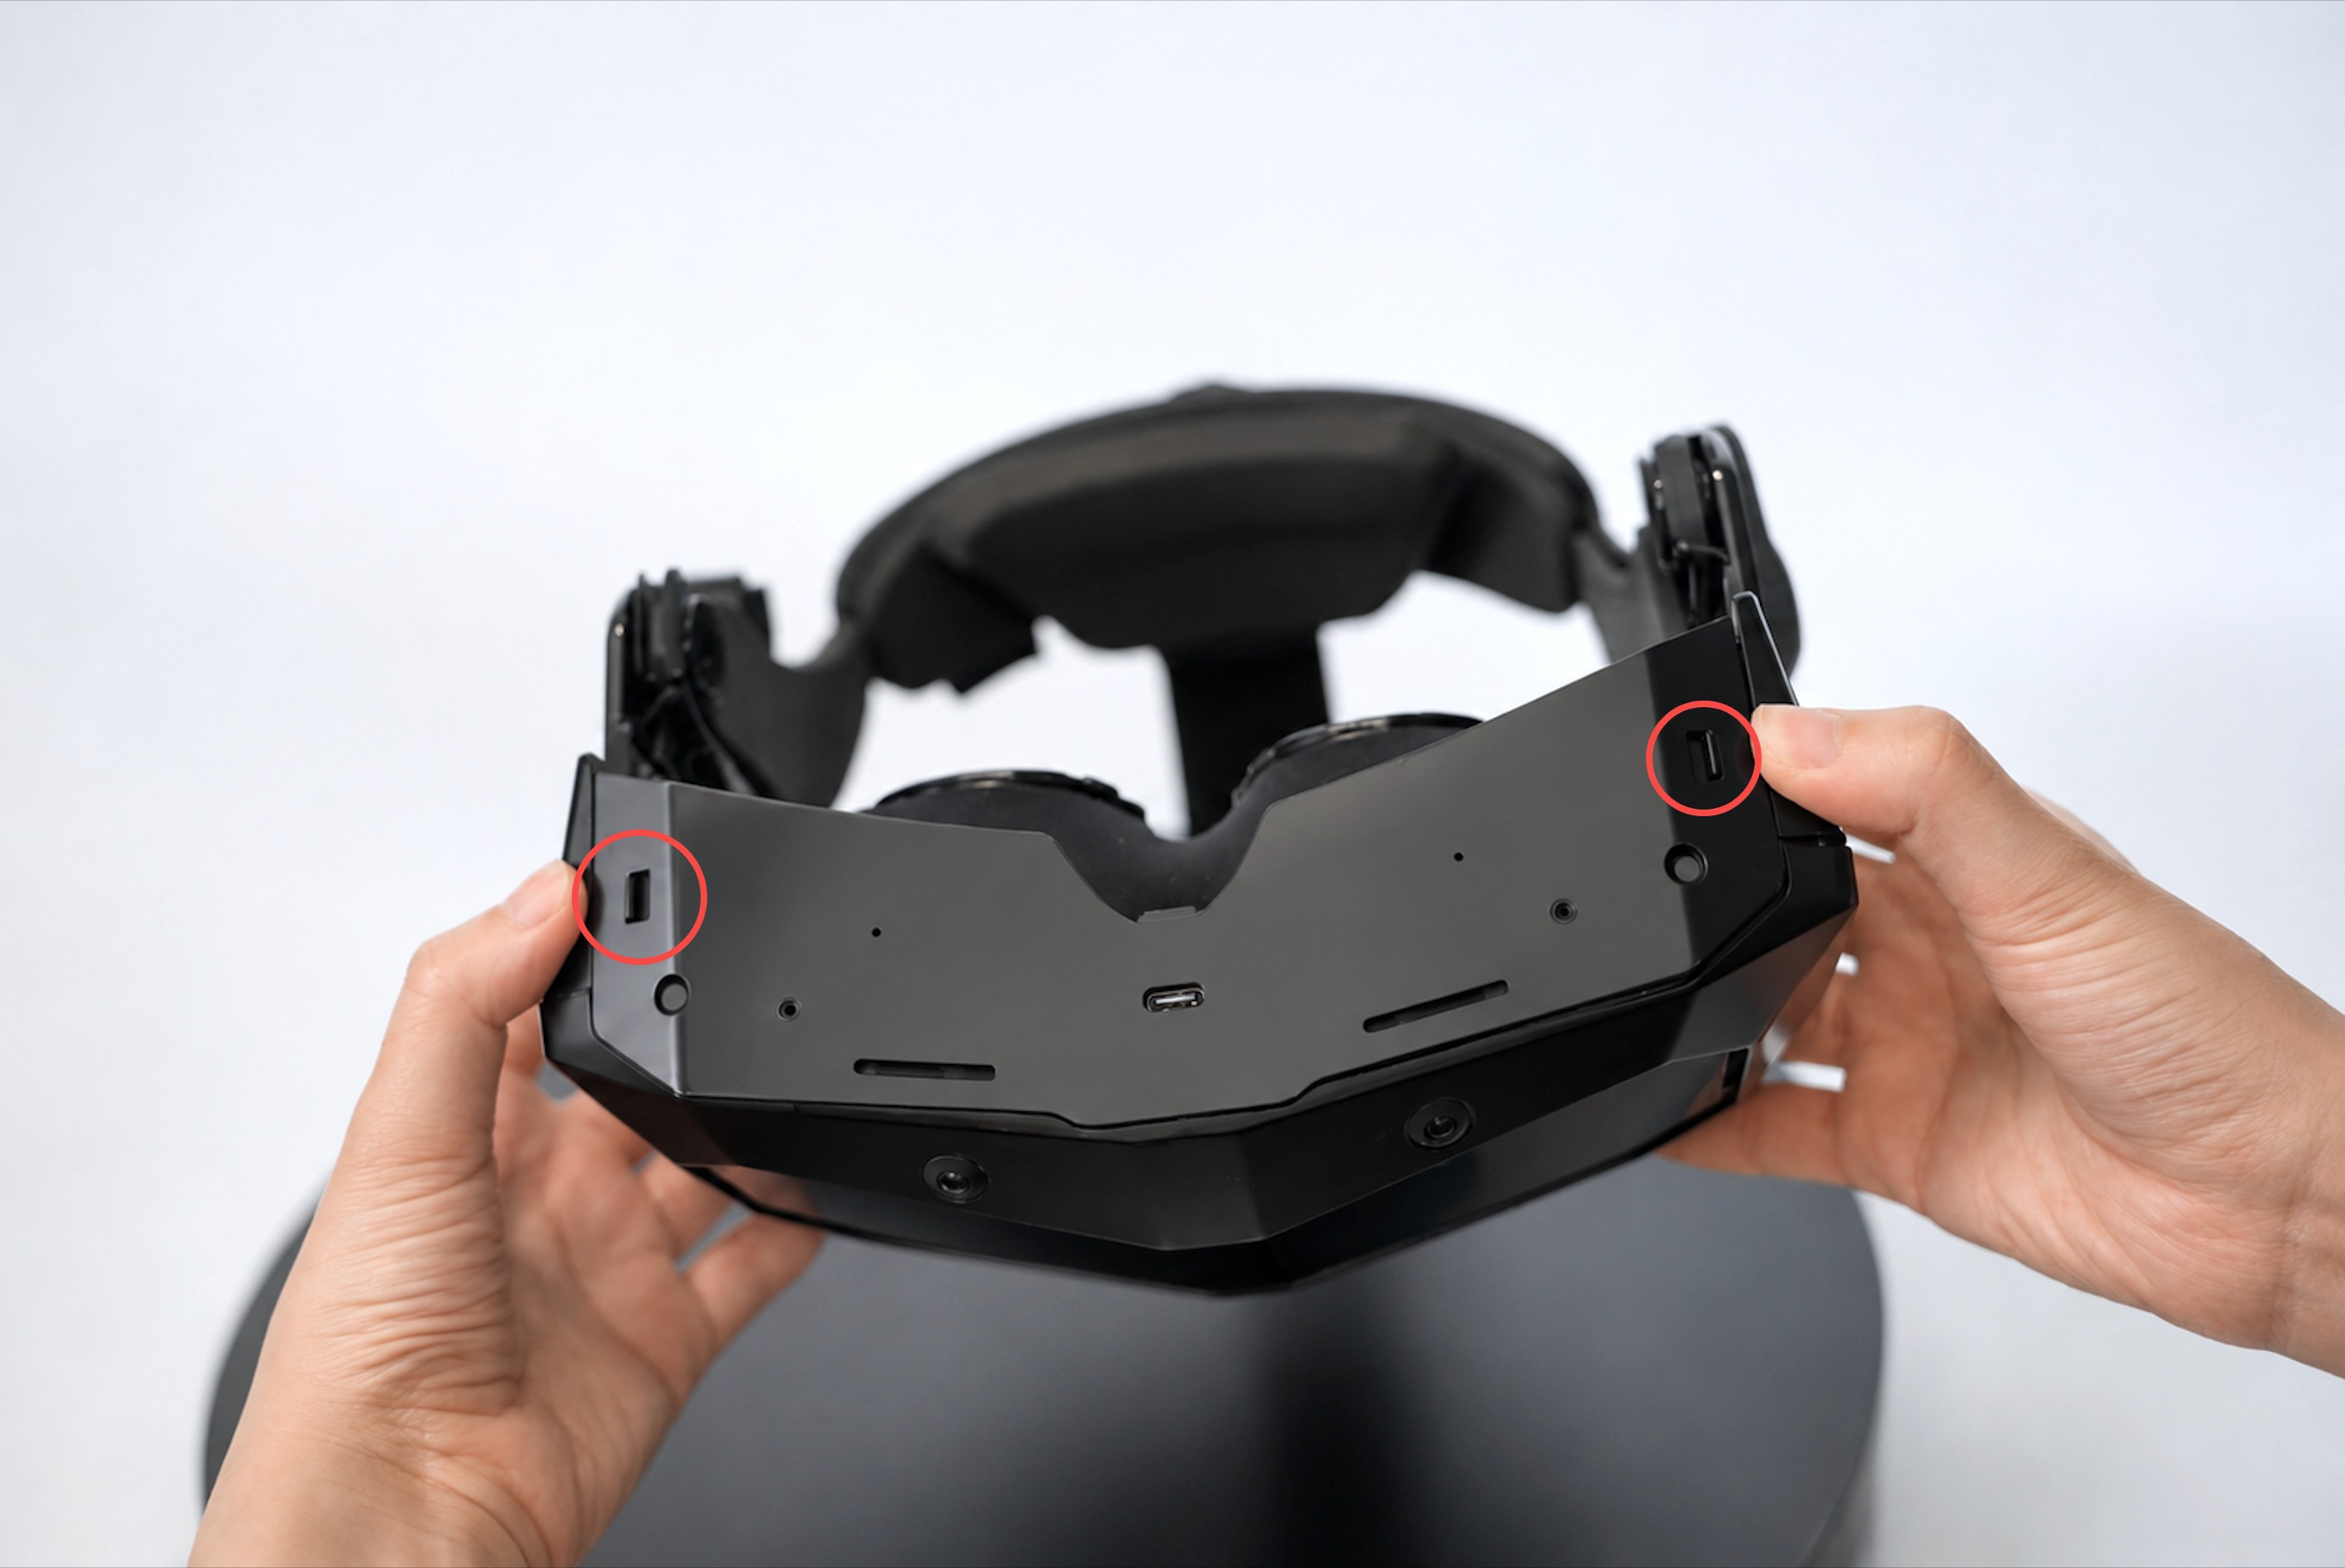
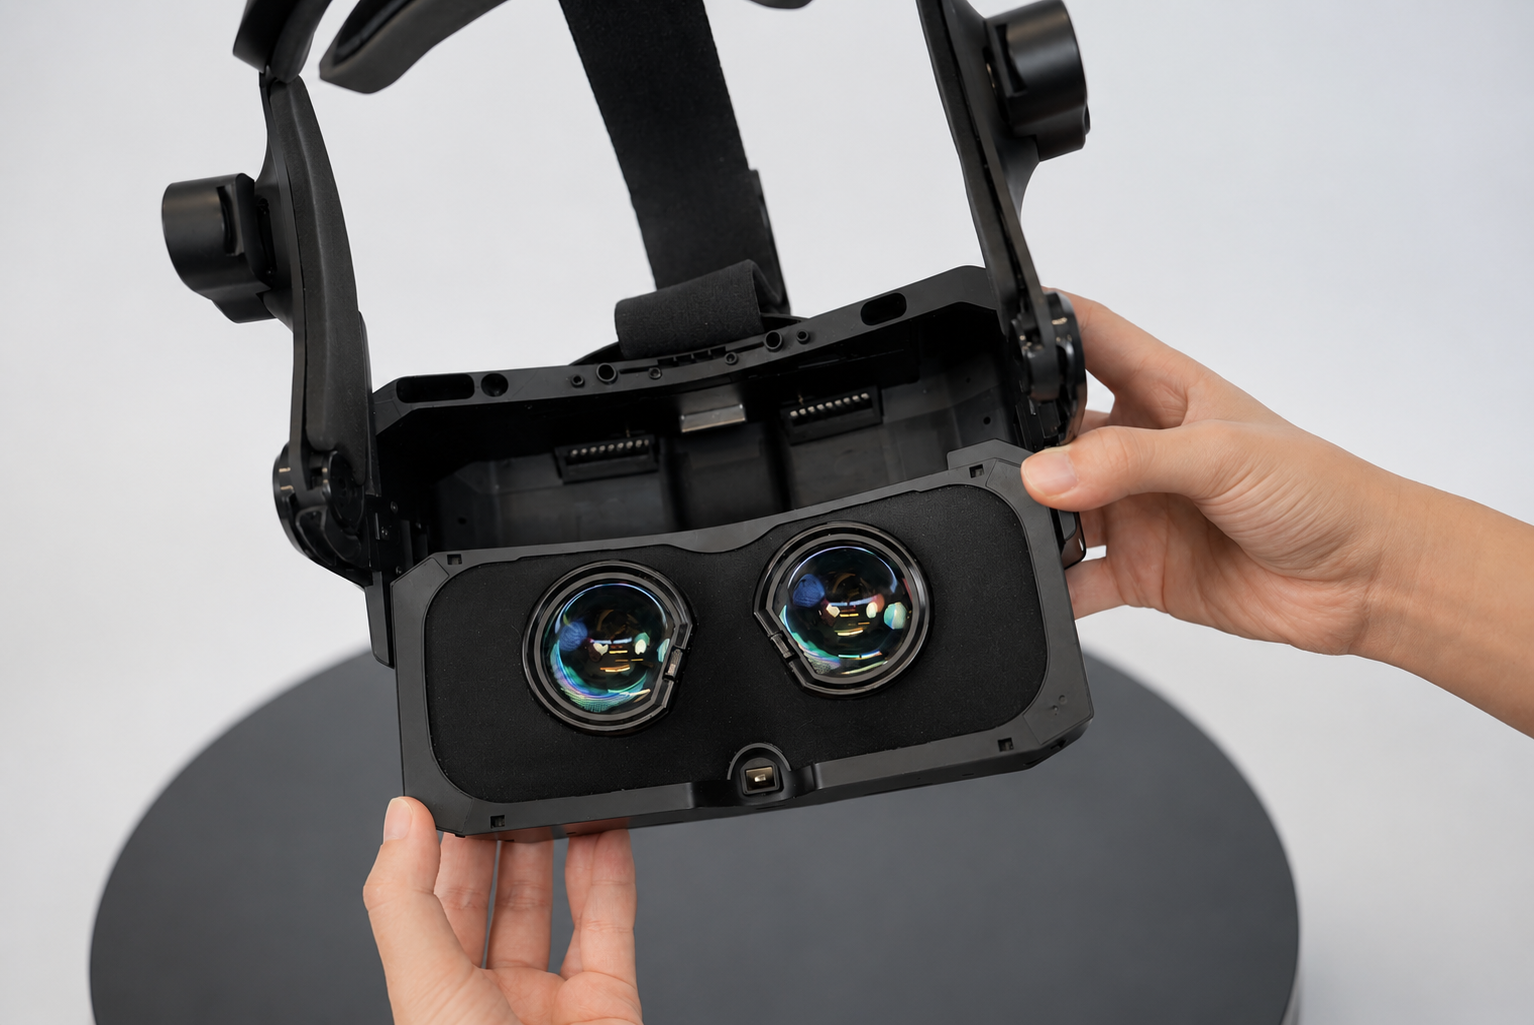
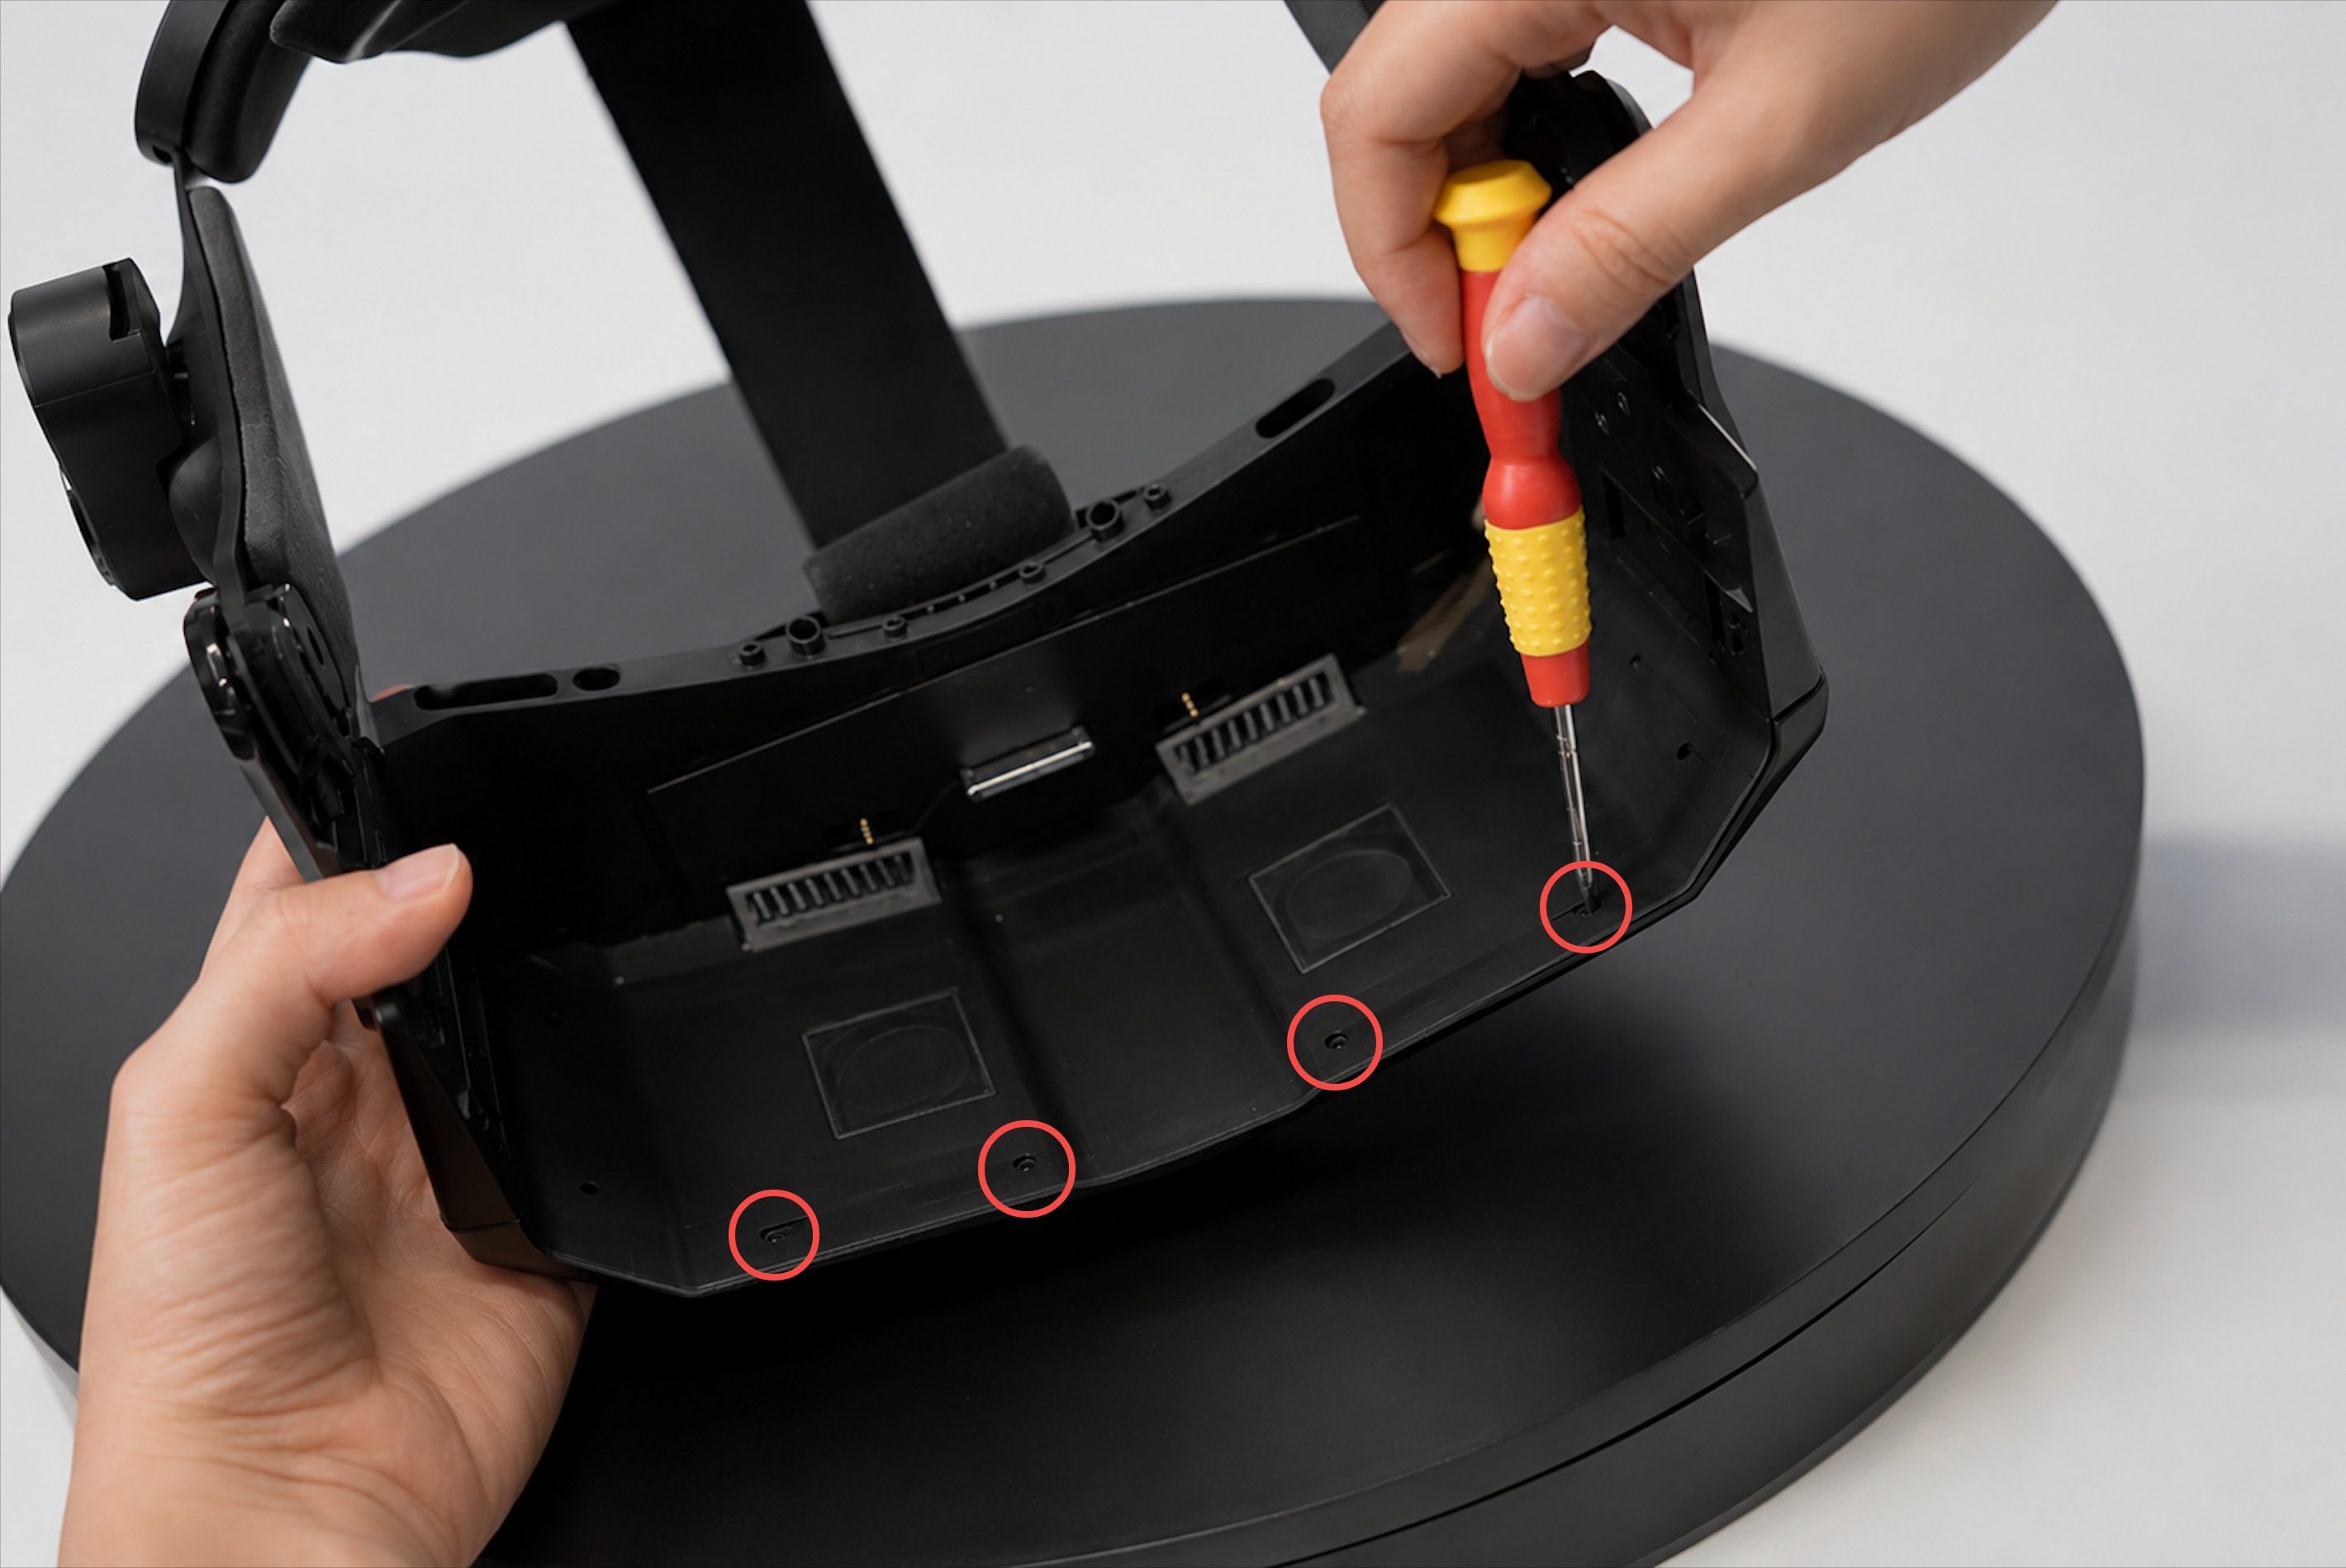
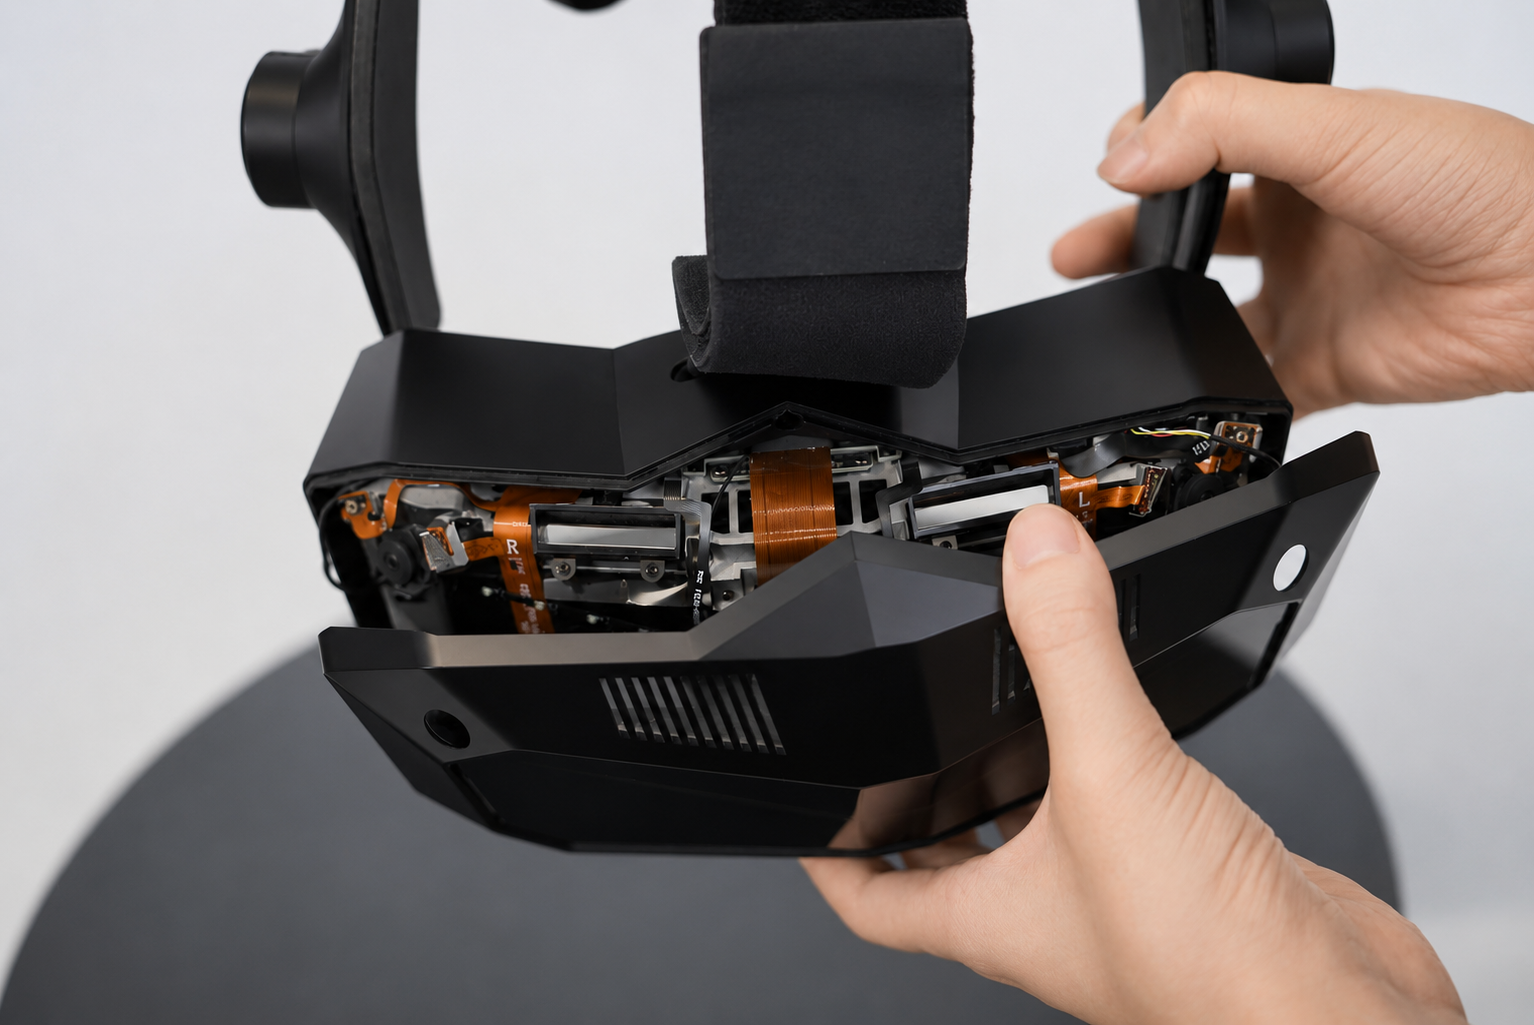
Step 2: Unscrew the four screws securing the frame, then remove the original faceplate
Note: Tamper-evident seals are pre-applied to the two inner screws. Please remove the seals before loosening the screws.
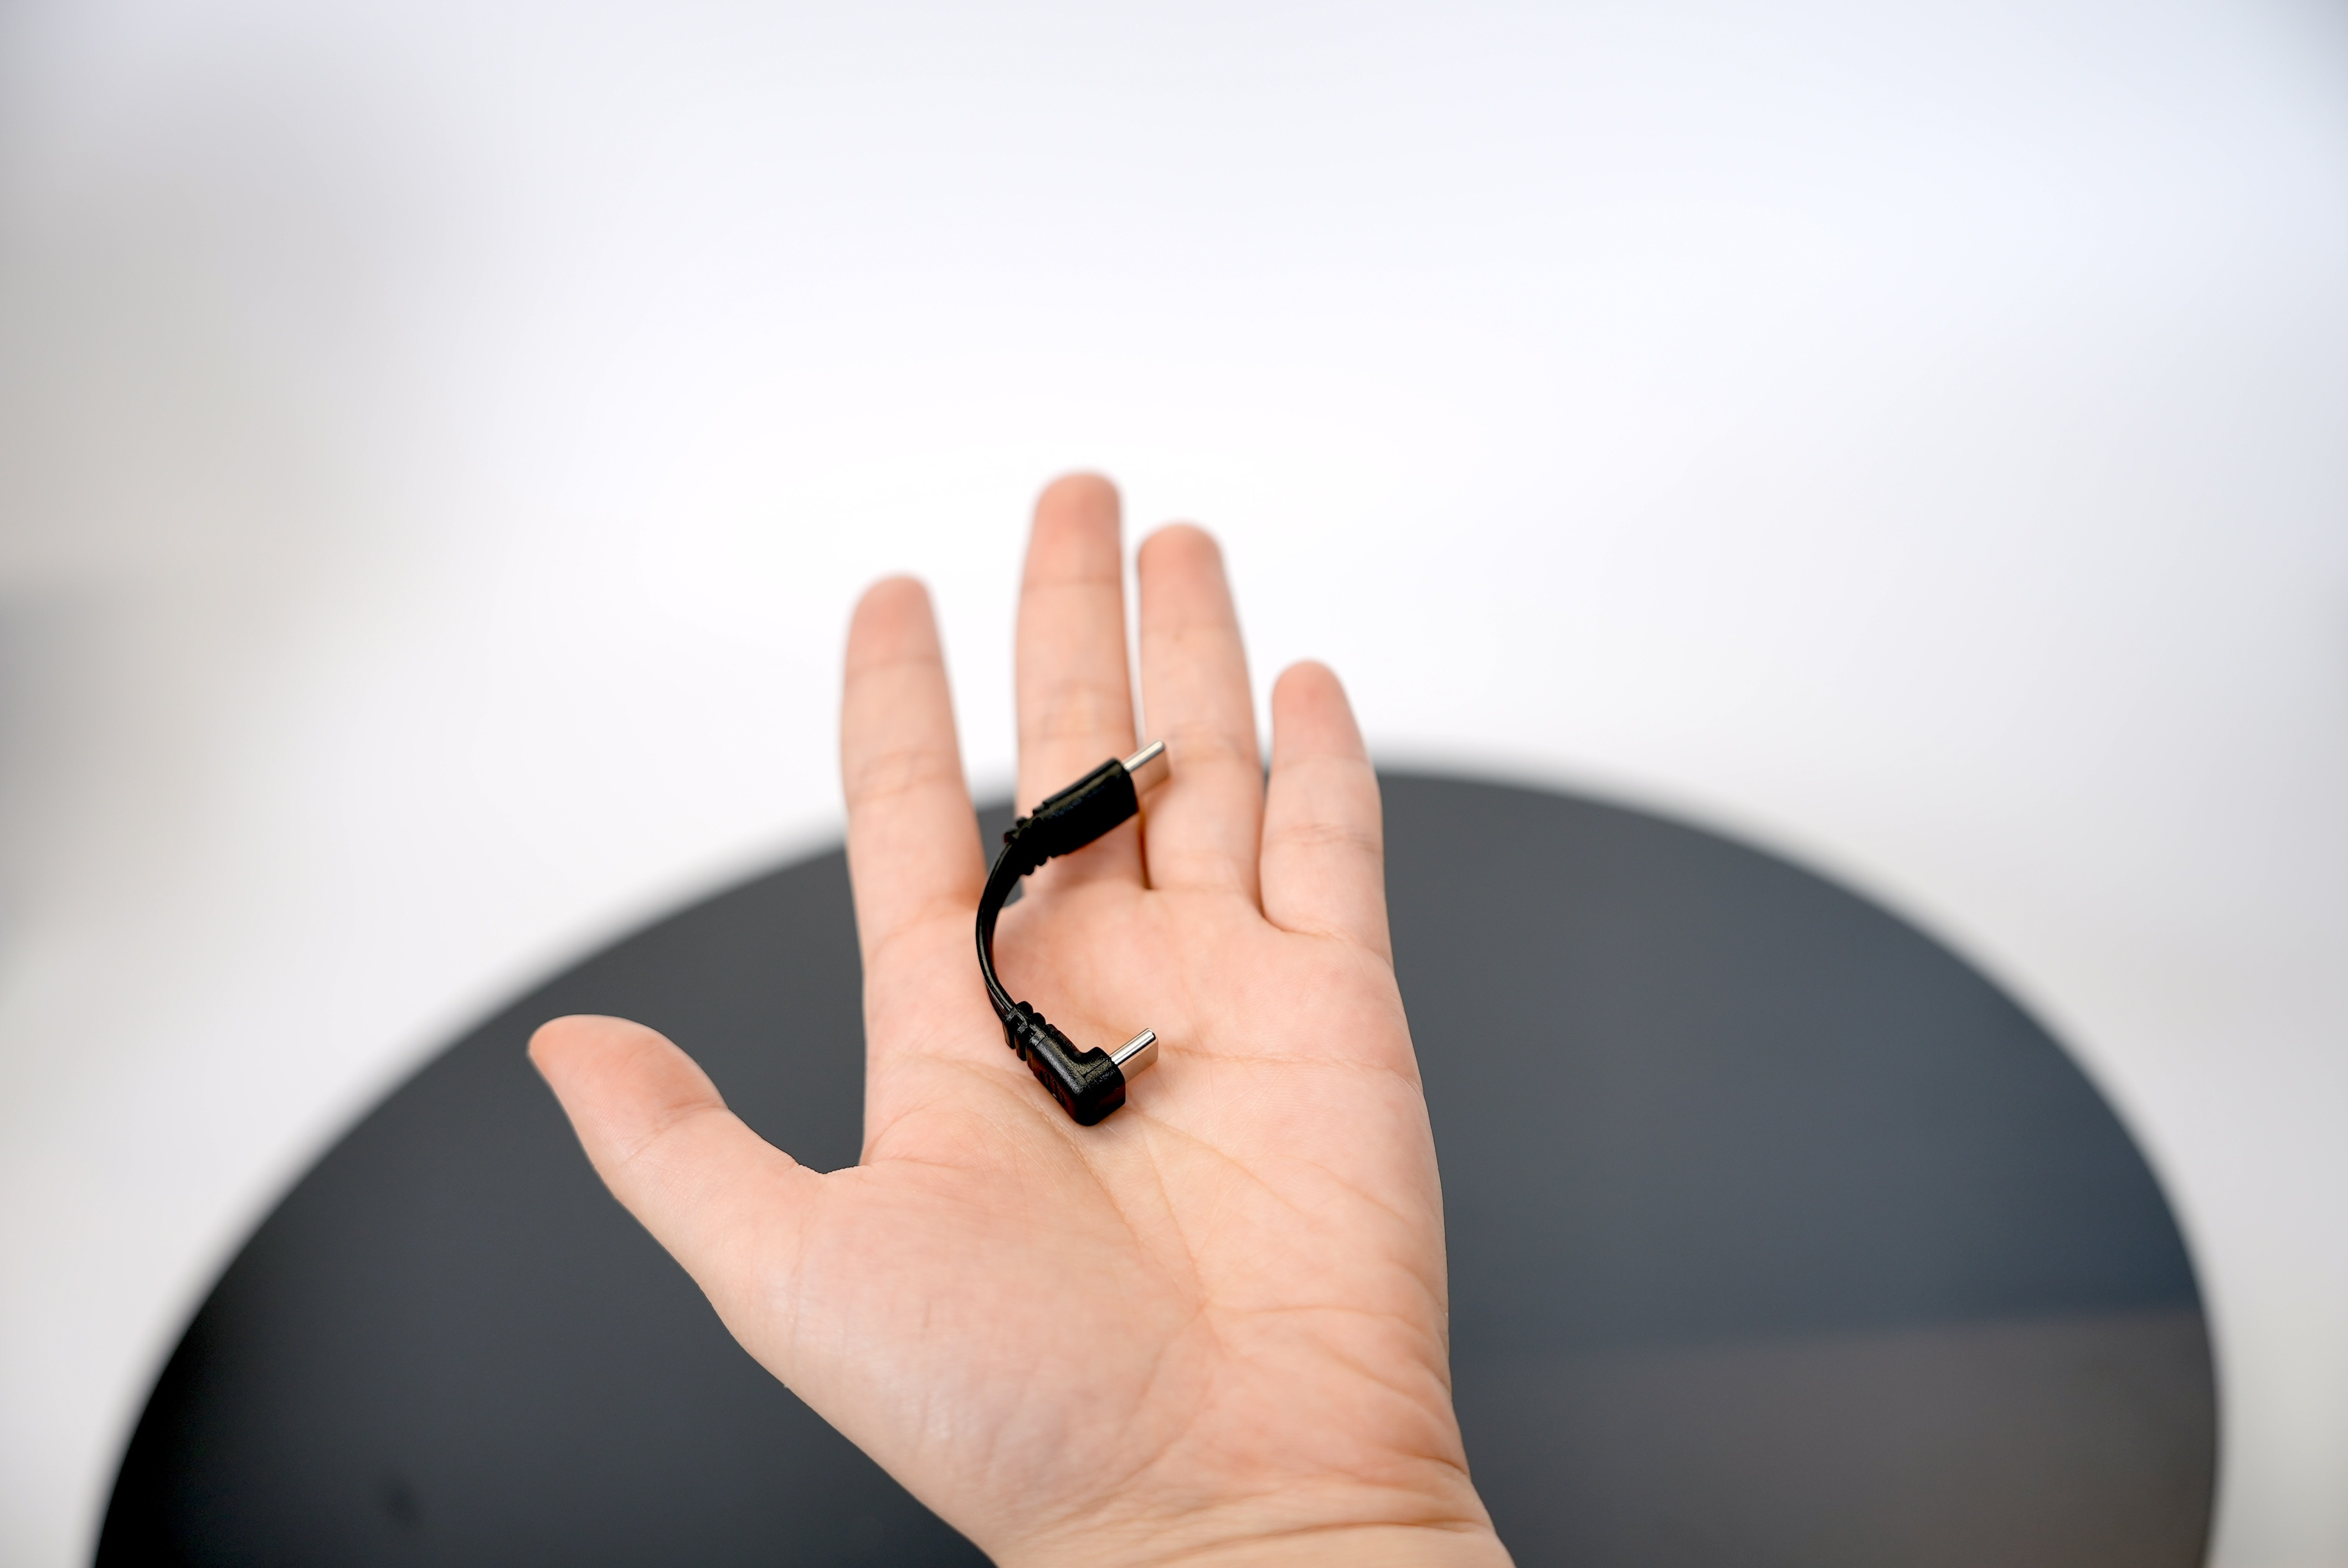
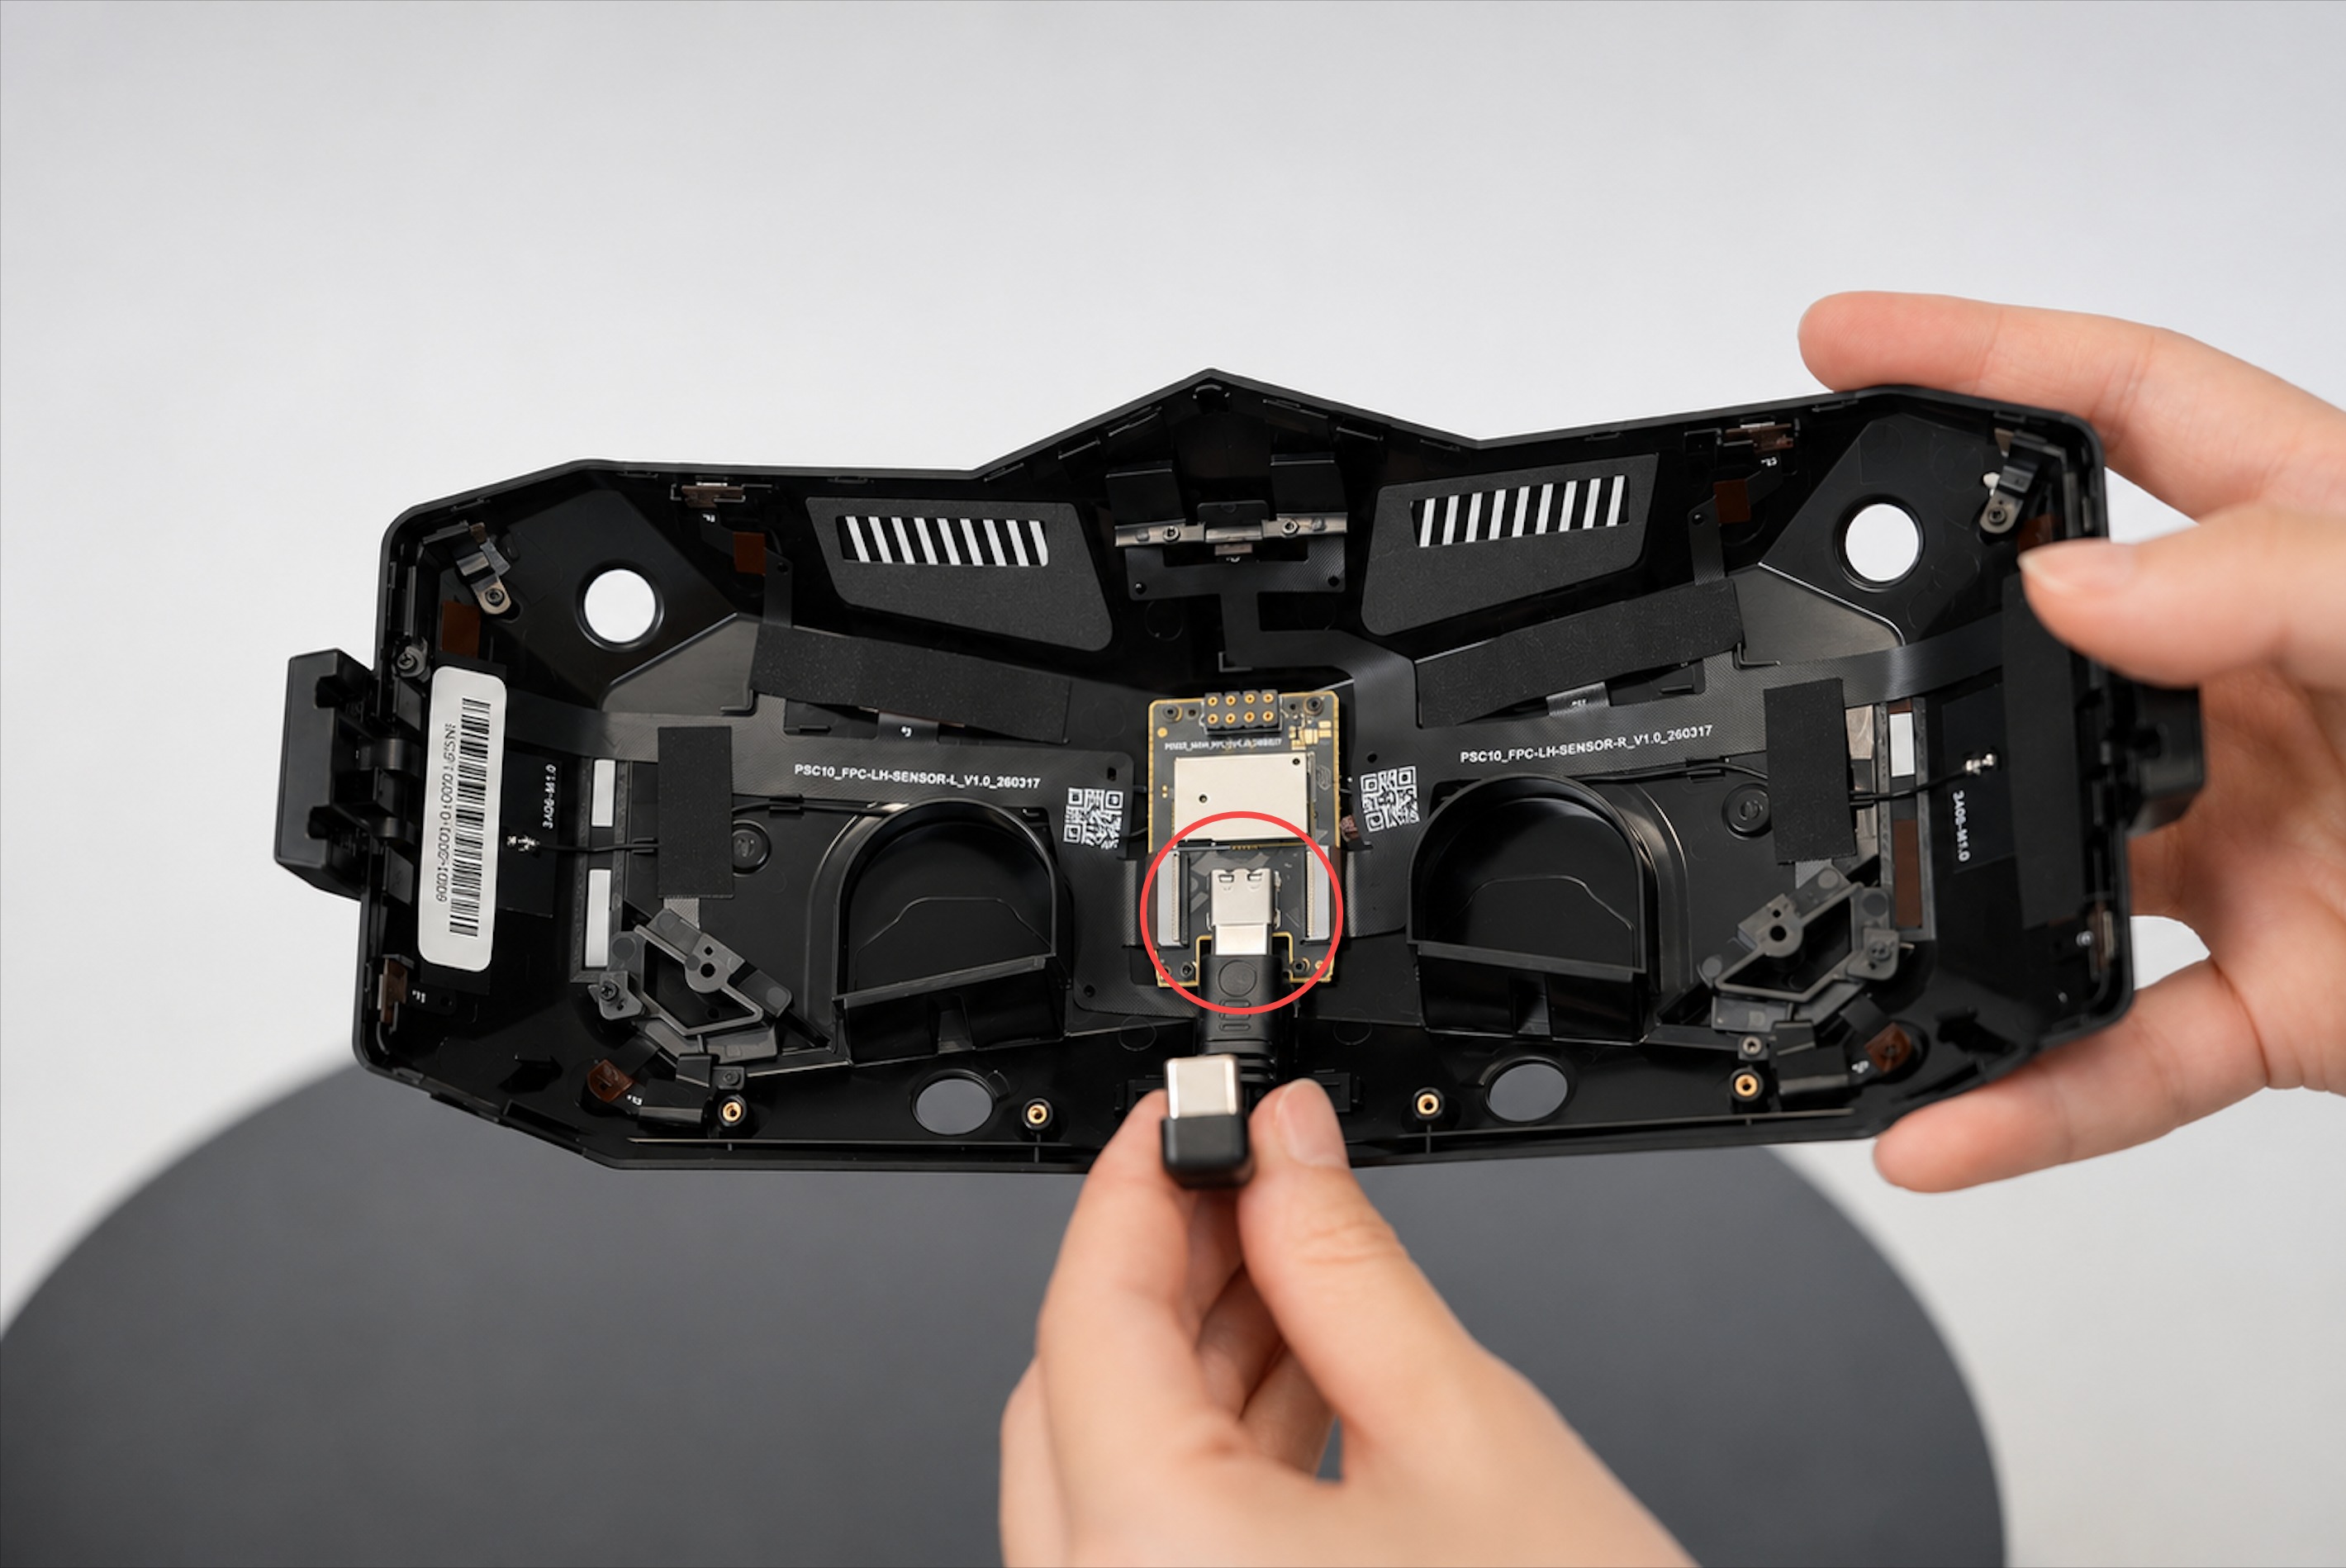
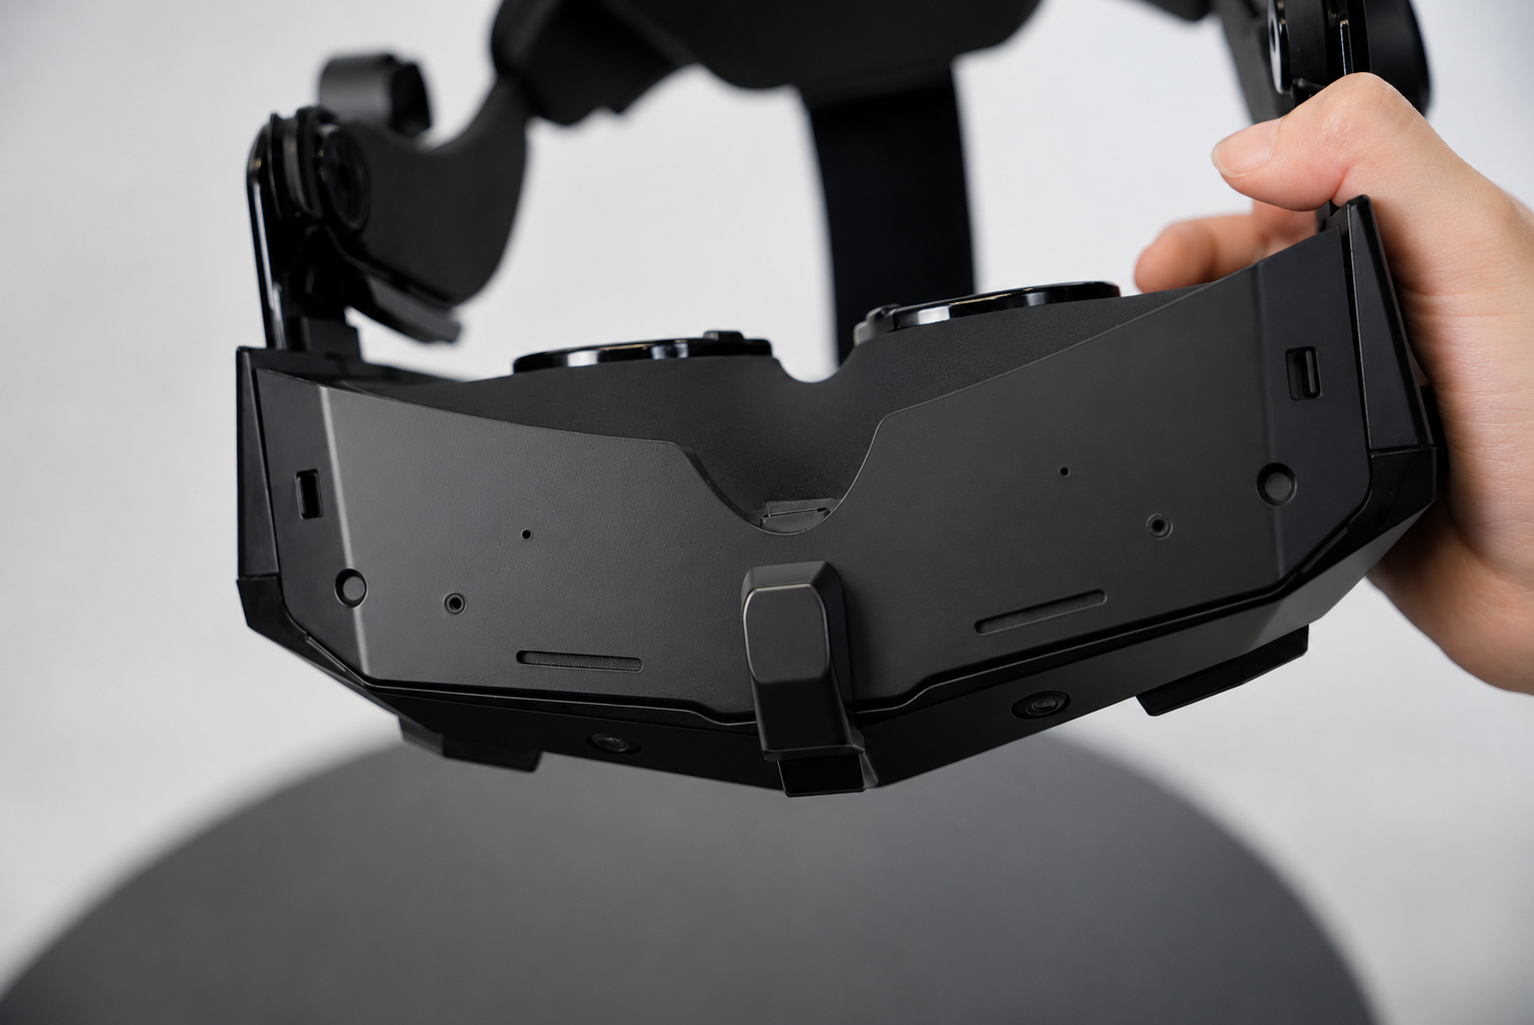
Step 3: Connect one end of the USB Type-C cable to the Lighthouse Faceplate
Step 4: Attach the Lighthouse Faceplate and securely tighten the four screws
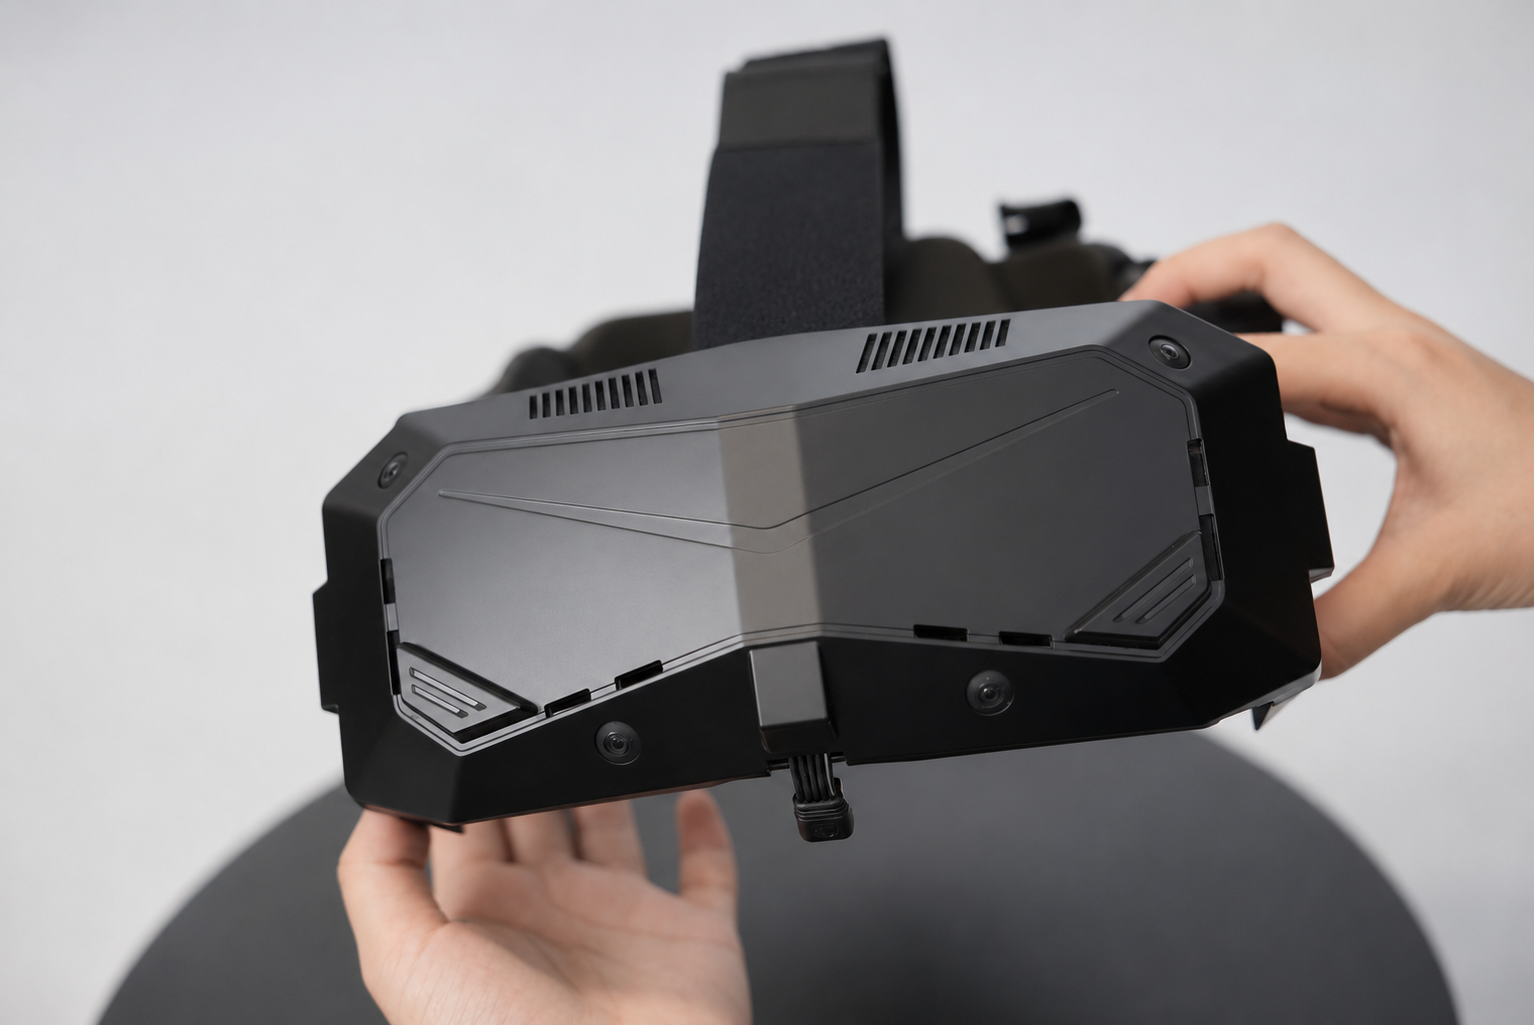
Step 5: Reinstall the optical engine and connect the other end of the USB Type-C cable to the optical engine
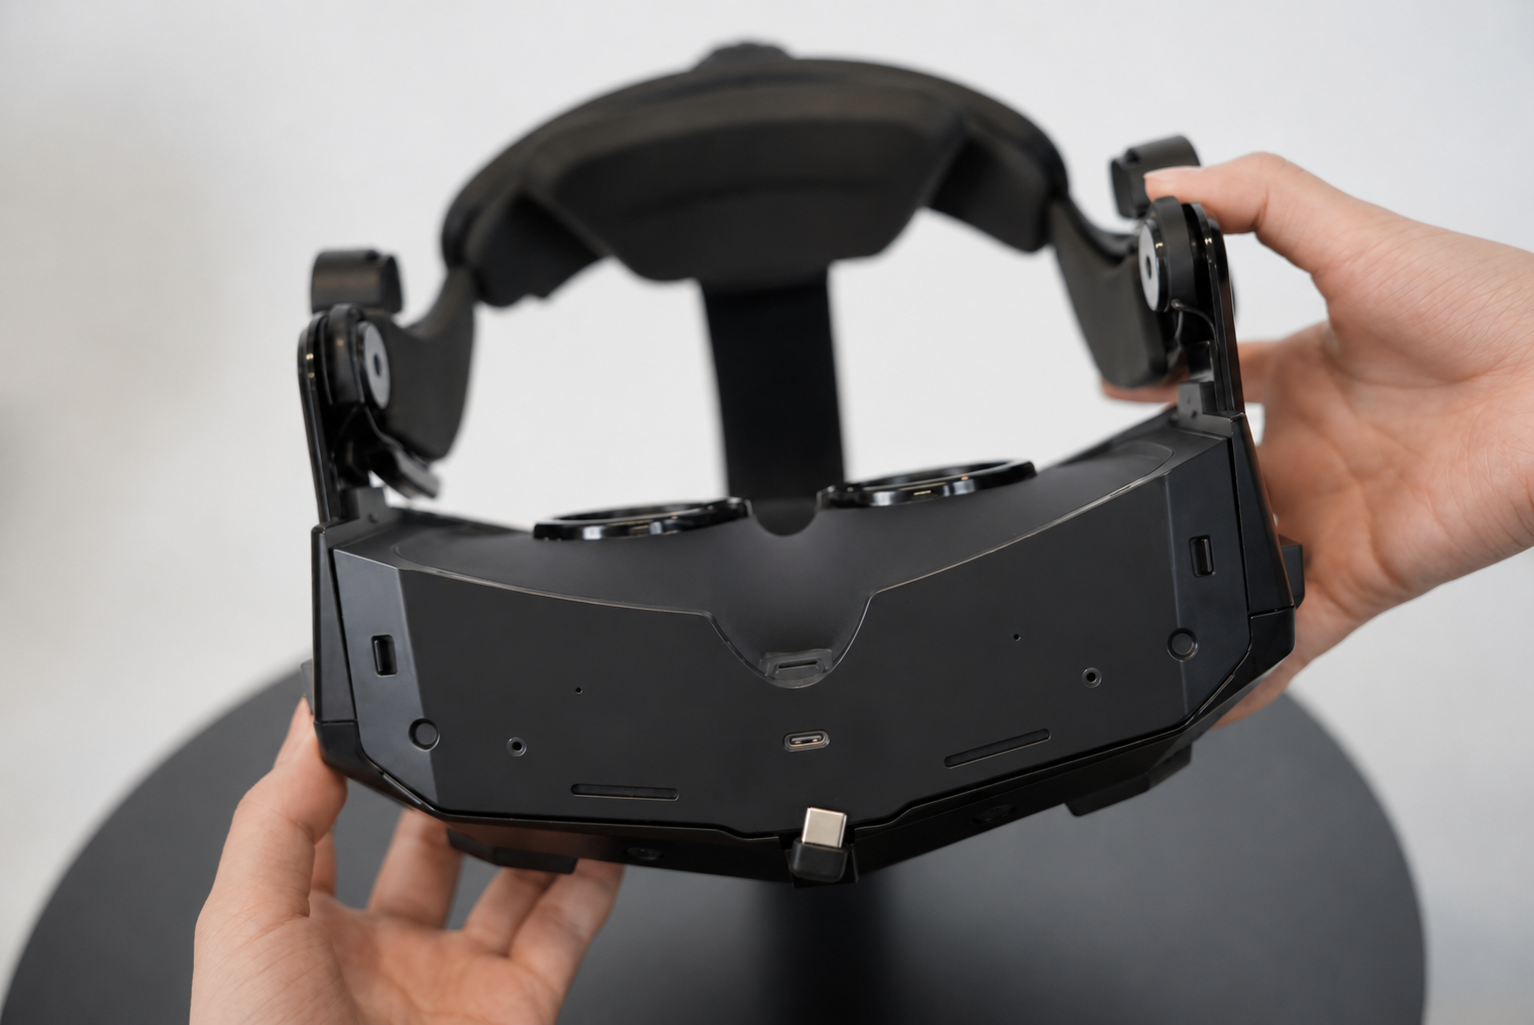
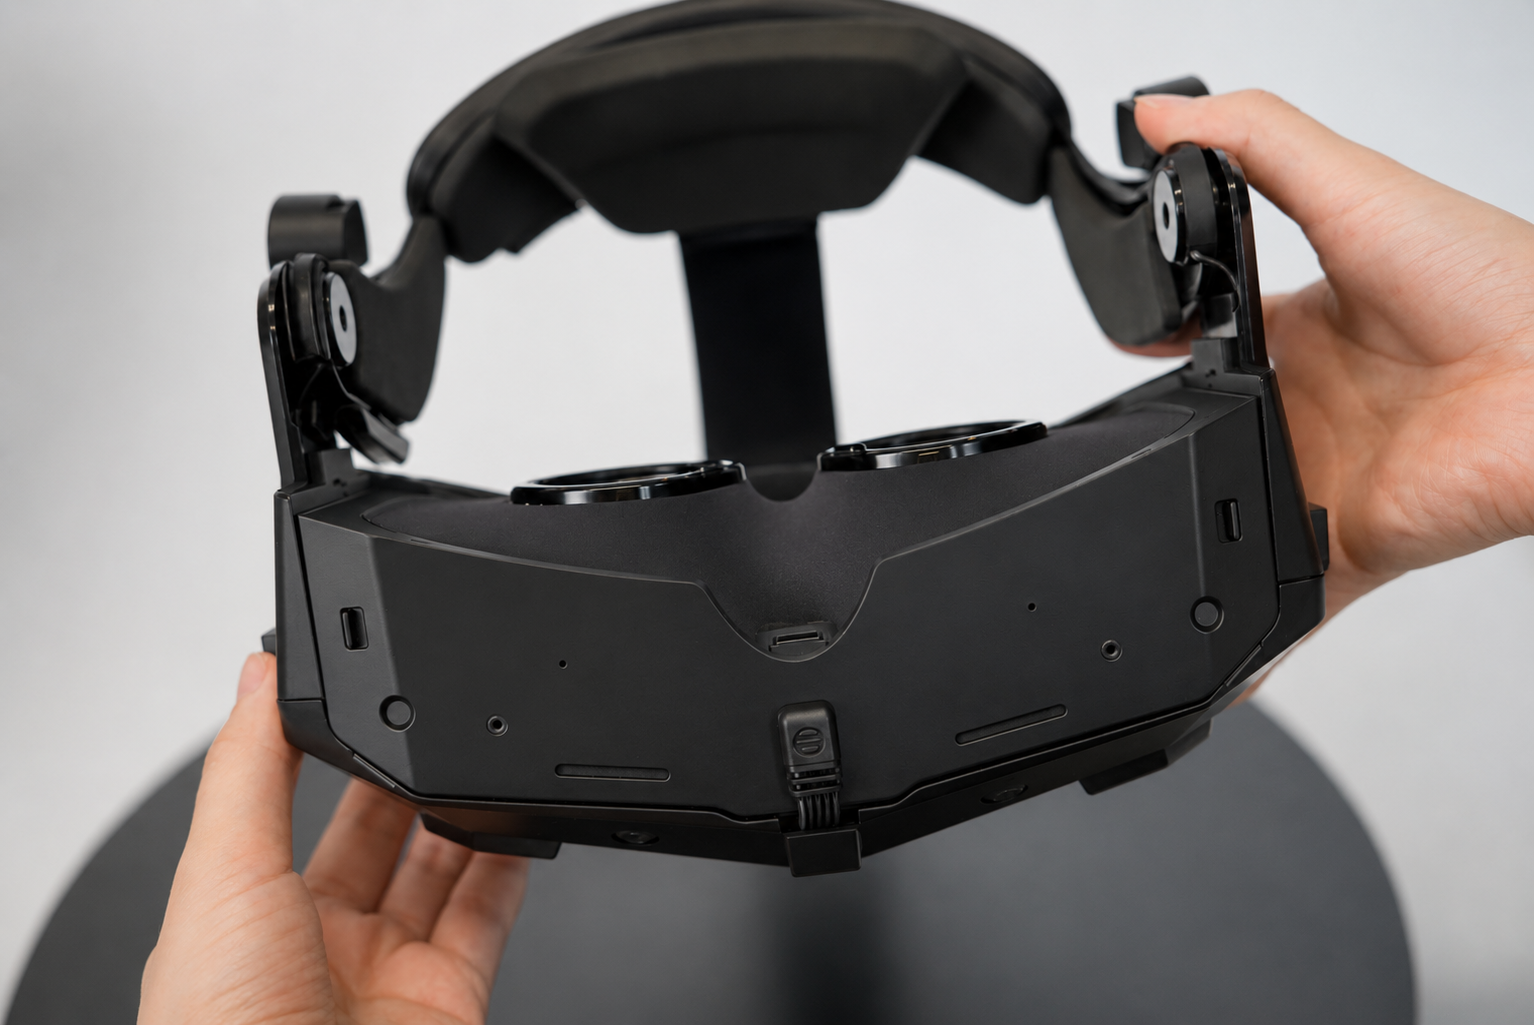
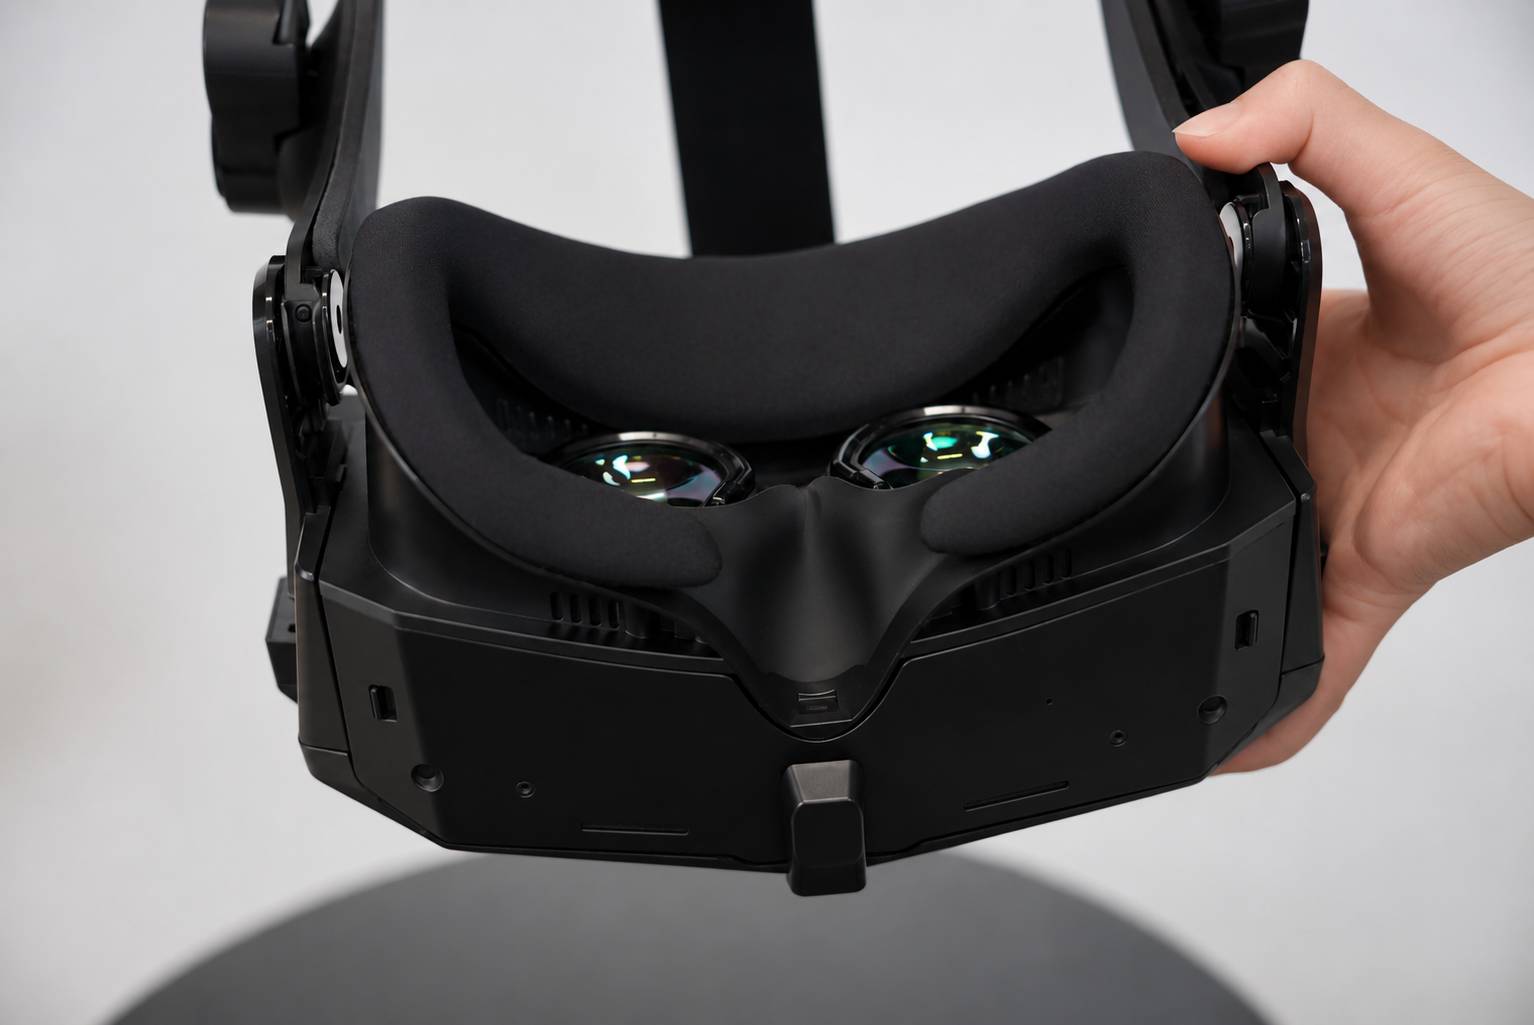
Step 6: Install the cable cover and facial foam
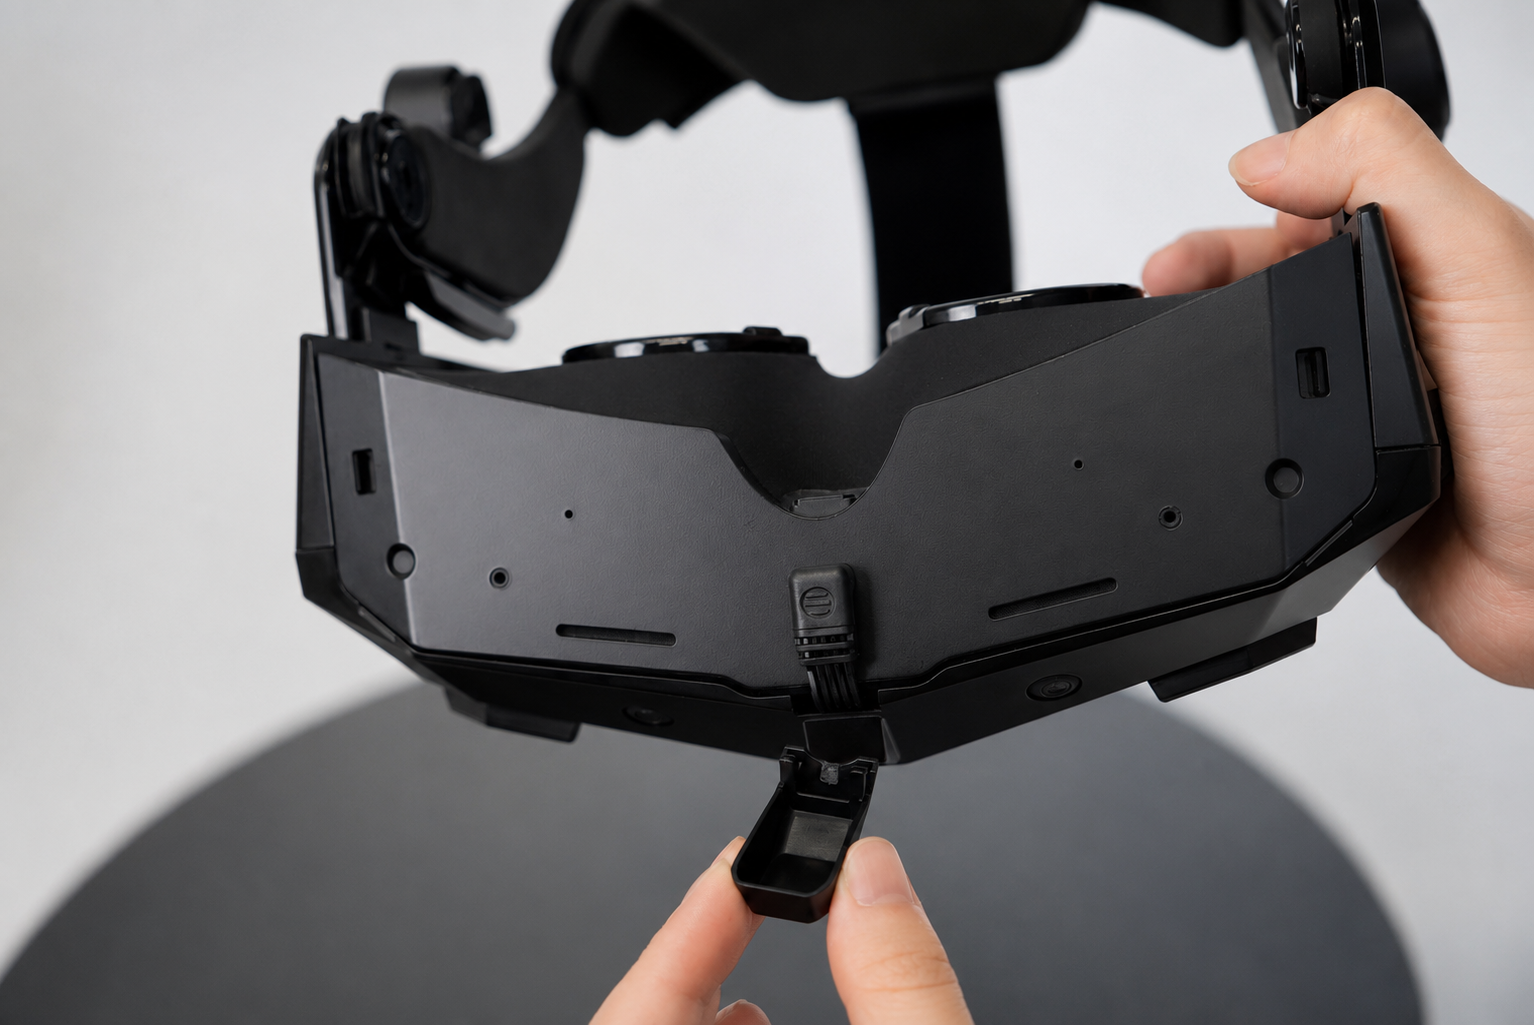
Kind Reminder
If the Type‑C port at the bottom of your headset is already occupied by other accessories (such as face-tracking gear, hand-tracking module and more), feel free to reach out to Pimax Customer Service for tailored support.